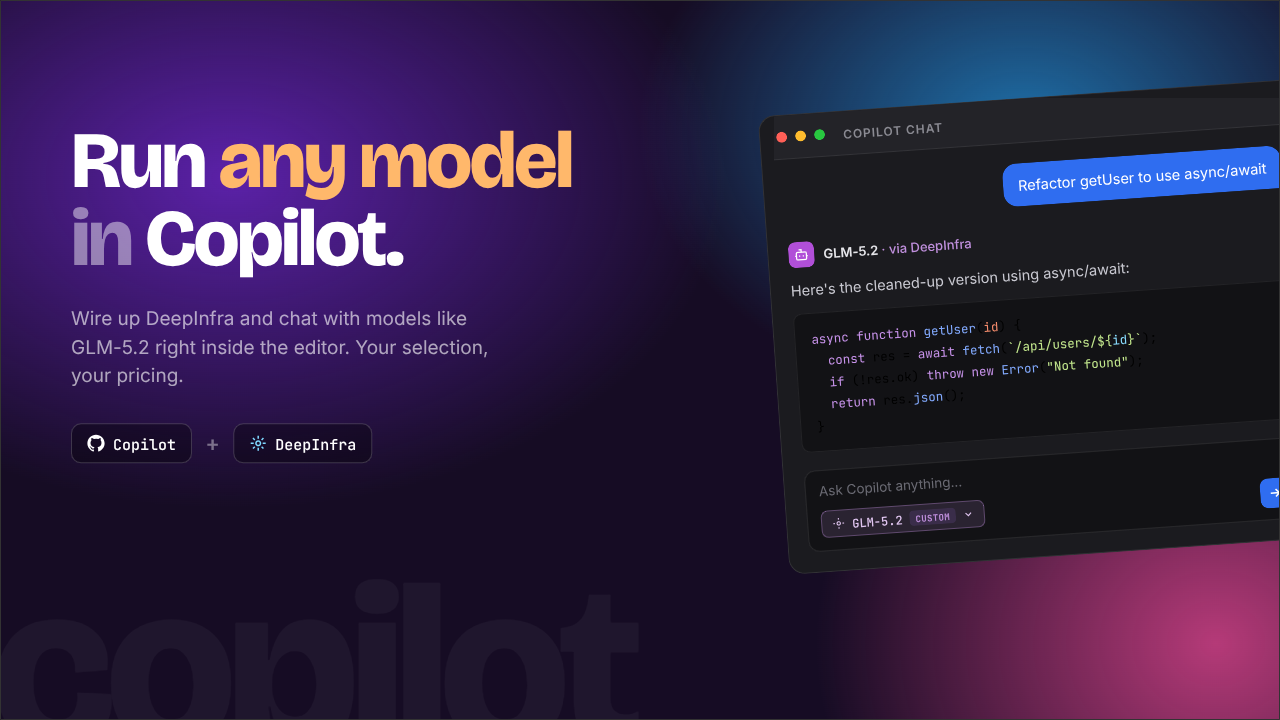
GitHub Copilot is a great coding harness with intuitive integration into VS Code. In my opinion, it has better developer experience than Claude Code and Codex, even with their VS Code extensions. However, GitHub’s new pricing model is a bit steep. Luckily, GitHub Copilot offers compatibility with custom model providers. This opens up two doors for us: we can use a larger variety of models, and we can use it as an alternative to GitHub’s pricing model. In this article, I’ll walk you through how to set up a custom provider and use it with GitHub Copilot.
Note: You don’t need to actively be on a paid GitHub Copilot plan to use custom providers. You can use custom providers with the free tier.
Choose Your Custom Provider
You need to start with choosing a custom provider. Most common providers provide OpenAI-compatible APIs, so you can use them with GitHub Copilot. For this article, I’ll be using DeepInfra. I went with DeepInfra because of their pricing as well as their decent privacy policy.
For the rest of the article, I’ll be using DeepInfra as an example.

Get Your Credentials
Once you’ve chosen your provider, you need to get your credentials. For DeepInfra, you’ll need to complete the following:
- Create an account on DeepInfra.
- Add a payment method and purchase credits.
- Navigate to the Keys page and note either the
autokey that’s generated for you or create a new key. - Find the “Chat Completions” endpoint for the provider. For DeepInfra, it’s
https://api.deepinfra.com/v1/openai/chat/completions.
Configure GitHub Copilot
Now that you have your credentials, you can configure GitHub Copilot.
With the GitHub Copilot chat open, press Ctrl + Shift + P (or Cmd + Shift + P on Mac) to open the command palette. Then, search for Chat: Manage Language Models and select it.

In the modal, click on + Add Models… and select Custom Endpoints.
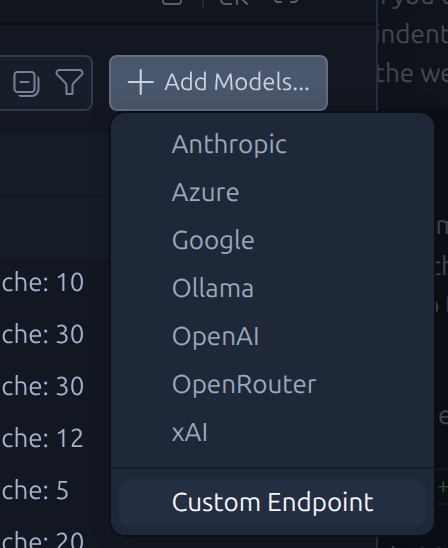
Follow the prompts to add your custom provider:
Group Name: This is just a name for you to identify the provider. You can name it “DeepInfra” or anything you like.API Key: This is the key you noted from the previous step.API Type: Select “Chat Completions”.
Now you should have an empty JSON object (this sits inside a larger array in the config file) that looks something like this:
{
  "name": "DeepInfra",
  "vendor": "customendpoint",
  "apiKey": "${input:chat.lm.secret.-78567d8e}",
  "apiType": "chat-completions",
  "models": [
    {
      "id": "",
      "name": "",
      "url": "",
      "toolCalling": true,
      "vision": true,
      "maxInputTokens": 128000,
      "maxOutputTokens": 16000
    }
  ]
}
Now we’re ready to add models.
Add Models
For DeepInfra, you can find the list of models and their capabilities here: DeepInfra Models.
For this example, I’ll use GLM-5.2: GLM-5.2.

This model page provides details about the model that we need to use to populate the JSON object in GitHub Copilot. Here’s an example of what the filled out JSON object would look like for GLM-5.2:
{
  "name": "DeepInfra",
  "vendor": "customendpoint",
  "apiKey": "${input:chat.lm.secret.-78567d8e}",
  "apiType": "chat-completions",
  "models": [
    {
      "id": "zai-org/GLM-5.2",
      "name": "GLM-5.2",
      "url": "https://api.deepinfra.com/v1/openai/chat/completions",
      "toolCalling": true,
      "vision": false,
      "maxInputTokens": 1048576,
      "maxOutputTokens": 16000
    }
  ]
}
Note: GLM-5.2 specifically doesn’t support vision. Models that do support vision will have a
Multimodalbadge on the DeepInfra models page. If you choose a model that supports vision, make sure to set thevisionproperty totrue.
Once you update the JSON object, click Ctrl + S (or Cmd + S on Mac) to save the configuration and close the modal.
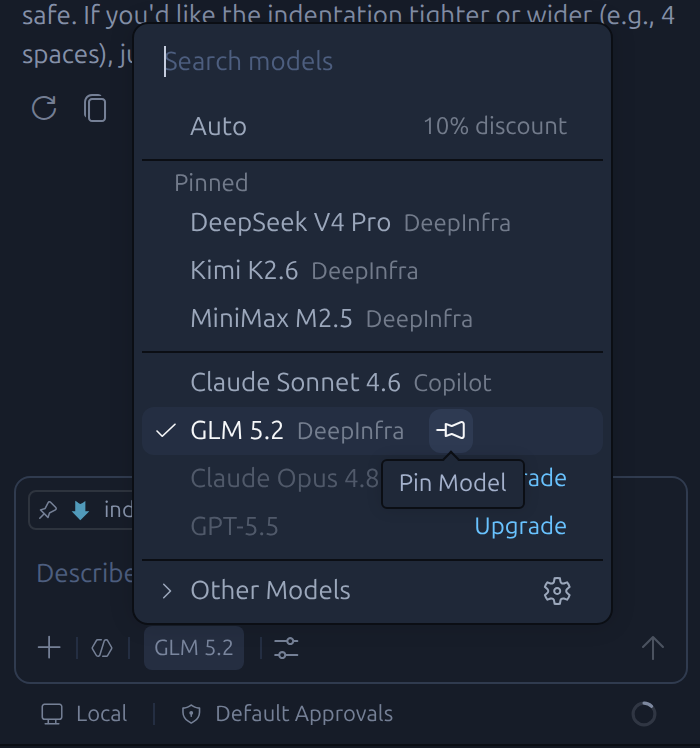
Use Your Custom Provider
From the model picker in the GitHub Copilot chat, you should now see your custom provider and the models you added. It will likely be at the very bottom of the list. You can always pin the model to the top for easier access.
Select the model you want to use and start chatting!
Troubleshooting
If you run into issues with getting chat responses, you can always check the output console. To do this, press Ctrl + Shift + P (or Cmd + Shift + P on Mac) to open the command palette, then search for Output: Focus on Output View and select it. In the output view, there should be a dropdown where you can select GitHub Copilot Chat. This will show you the logs for GitHub Copilot Chat, which can help with troubleshooting any issues you may run into.
