“Backups are like spare socks—often forgotten until the moment you desperately need them.”
- Unknown
Introduction
Maintaining a reliable backup strategy is crucial when working with Splunk Enterprise, as it ensures the ability to revert back to a functional state in the event of an unrecoverable issue. While a comprehensive backup strategy encompasses more than just the configuration files, apps, and add-ons, it is essential to start somewhere. In this article, we will explore a simple yet effective method of backing up Splunk’s /opt/splunk/etc directory. Please note that this method does not encompass backing up indexed data, but rather focuses on preserving the necessary components to restore Splunk to a desired state. The backup process on Windows is similar, but can use 7zip or the built-in zip functionality.
Understanding the Backup Scope
The /opt/splunk/etc directory serves as a central location for Splunk’s configuration files, apps, and add-ons. By backing up this directory, you can capture the core components required for reverting Splunk back to a previous state. However, it is important to note that indexed data is not included in this backup. To protect your indexed data, it is recommended to follow best practices and store it on a separate volume. You will need to look into snapshots or other methods for creating backups of the volume. RAID is not a backup.
Creating a Tarball Backup
To create a backup of Splunk’s /opt/splunk/etc directory, we will utilize the tar utility. Tar enables us to create an archive file that includes all the necessary files, which can then be compressed using gzip for efficient storage. Follow the steps below to perform this backup:
- SSH into the Splunk host.
- Switch to the
splunkorrootuser to acquire the required permissions for creating the tar. - Stop Splunk
/opt/splunk/bin/splunk stop⚠ Stopping Splunk ensures that files are not being updated during the backup process, maintaining data integrity.
- Navigate to the Splunk installation root directory, typically located at
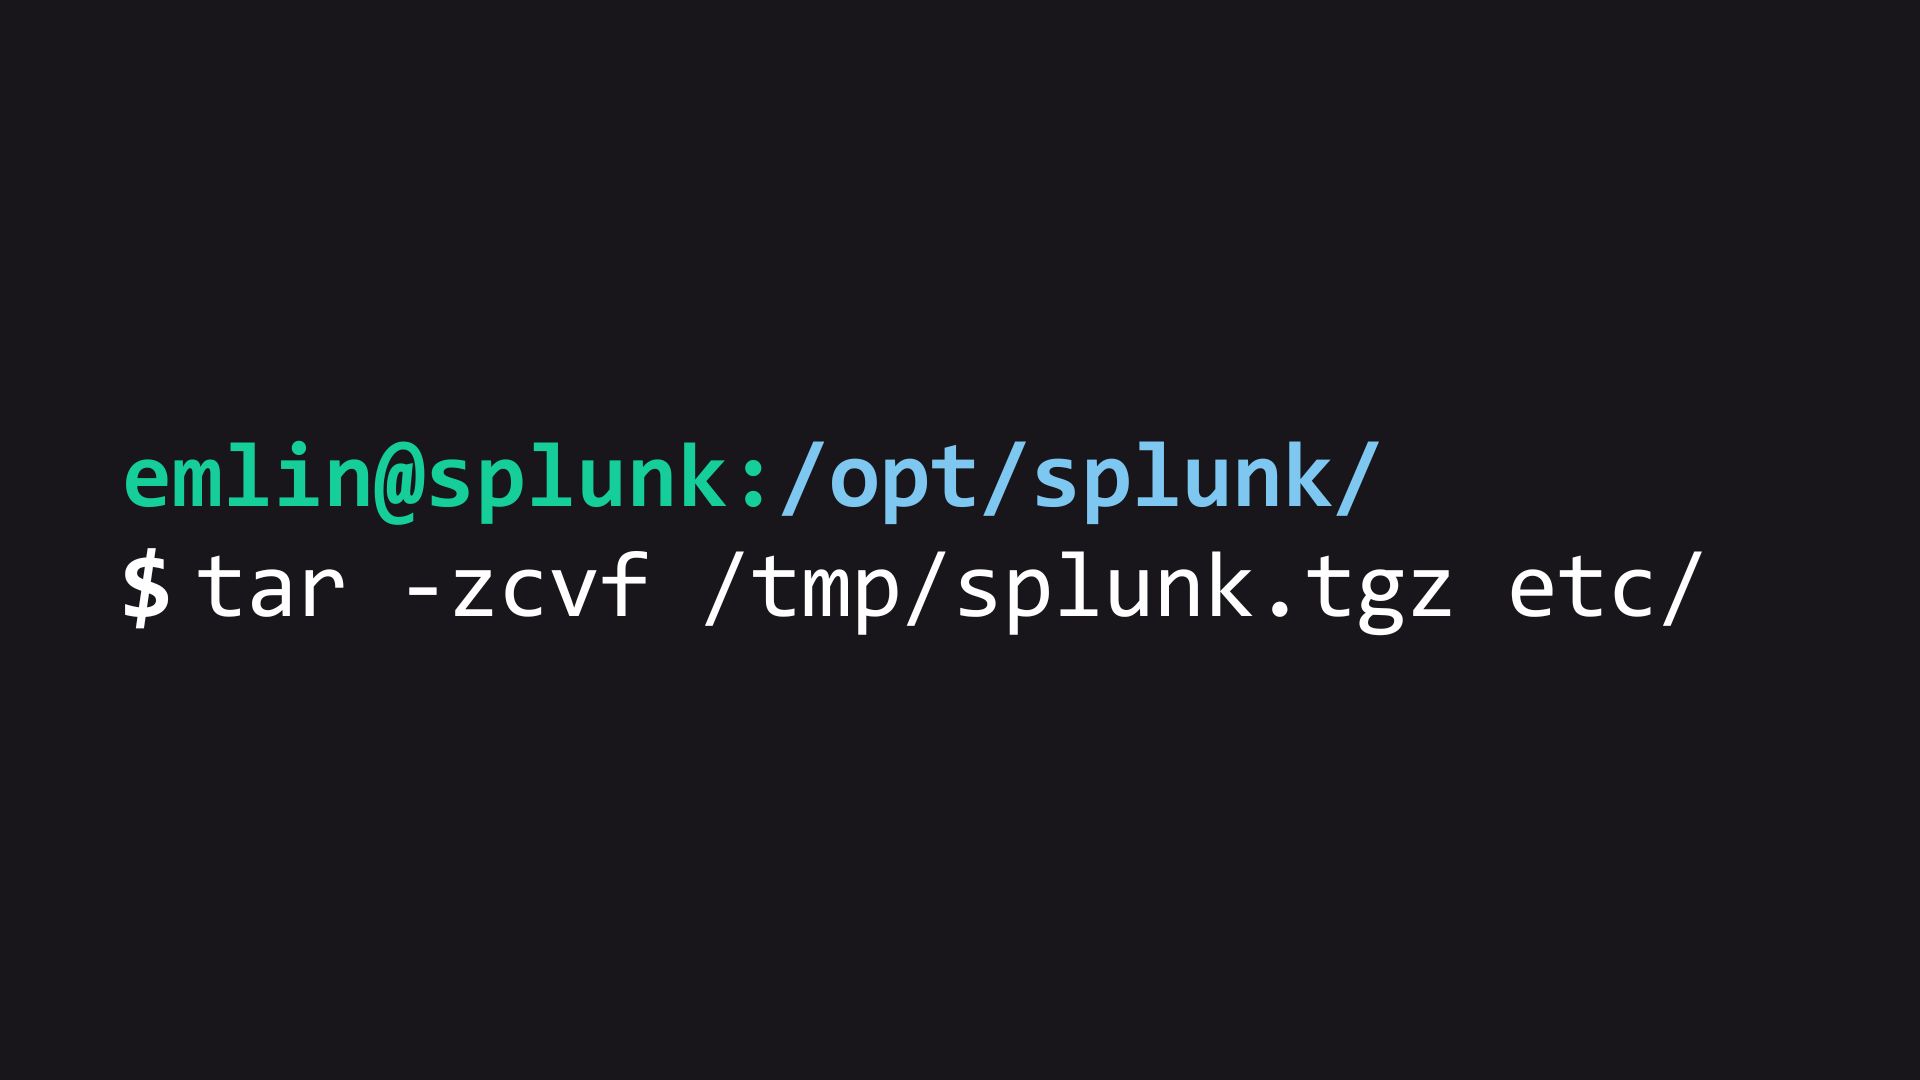
/opt/splunk. - Create the backup using the following command:
tar -zcvf /any/path/splunk_etc_backup.tar.gz etc/💡 Alternatively, you can use the command
tar -zcvf /any/path/splunk_etc_backup_$(date +%s).tar.gz etc/to include the current time in epoch format in the filename, facilitating easy identification of the backup. - Start Splunk
/opt/splunk/bin/splunk start - To ensure data safety, move the backup to a secure location, following the principles of the 3-2-1 Backup Strategy.
💡 The 3-2-1 Backup Strategy recommends having at least three copies of your data, stored on two different media types, with one copy stored off-site.
Reverting Splunk Using the Backup
If you need to revert Splunk back to a previous state using the backup you created, follow the steps below:
Stop the running instance of Splunk
/opt/splunk/bin/splunk stopCompletely uninstall Splunk from your system. On Linux, this usually involves deleting the
/opt/splunkdirectory.⚠ Make sure your indexed data is not stored in this directory. Following best practives, your indexed data should be in another volume away from the Splunk install.
Download and install a fresh version of Splunk, ensuring that it matches the version you backed up.
Extract the backup tarball to the new Splunk installation directory using the following command:
tar -zxvf splunk_etc_backup.tar.gz -C /opt/splunk/Start Splunk and ensure the configurations are back in place:
/opt/splunk/bin/splunk start
This command extracts the backed-up files from the tarball and replaces the existing /opt/splunk/etc directory with the restored configuration files.
Considerations and Best Practices
When working with backups and Splunk’s directory structure, it is crucial to exercise caution. Take into account the following considerations and best practices:
- 📃 Data Storage: Avoid storing data within the
/opt/splunk/directory to prevent accidental data loss during Splunk removal. It is recommended to follow best practices and use a separate volume specifically designated for storing indexed data. This primarily affects indexers, as other components should not be locally indexing data unless there is a specific use case that requires it. - 📎 Regular Backups: While this article focuses on backing up the
/opt/splunk/etcdirectory, it is essential to develop a comprehensive backup strategy that includes other critical components, such as indexed data. Remember that each enterprise component in your Splunk environment, such as search heads, indexers, and forwarders, requires its own backups. Regularly evaluate and refine your backup strategy for each component to ensure the ongoing protection and recoverability of your Splunk deployment. Additionally, test the backup method and periodically verify that backups are functioning as expected. By doing so, you can have confidence in the recoverability of your Splunk environment and ensure the integrity of your data. - 🚮 Clean Up: As you take backups over time, it is important to establish a process for cleaning up old backups. Regularly review and remove outdated or unnecessary backup files to optimize storage usage and maintain an organized backup environment.
Conclusion
It is crucial to emphasize that while this article provides guidance on creating a tarball backup of Splunk’s /opt/splunk/etc directory, it is essential for you to test and adapt these methods to their specific environment and deployment. Every Splunk setup is unique, and it is important to build a backup strategy that aligns with your organization’s requirements and best practices.
By implementing a tailored backup strategy, including comprehensive backups of critical components such as indexed data, and regularly evaluating and refining your approach, you can ensure the ability to revert back to a functional state and protect the integrity of your Splunk environment. Remember to test your backups, verify their functionality, and stay proactive in maintaining a reliable backup and recovery process.